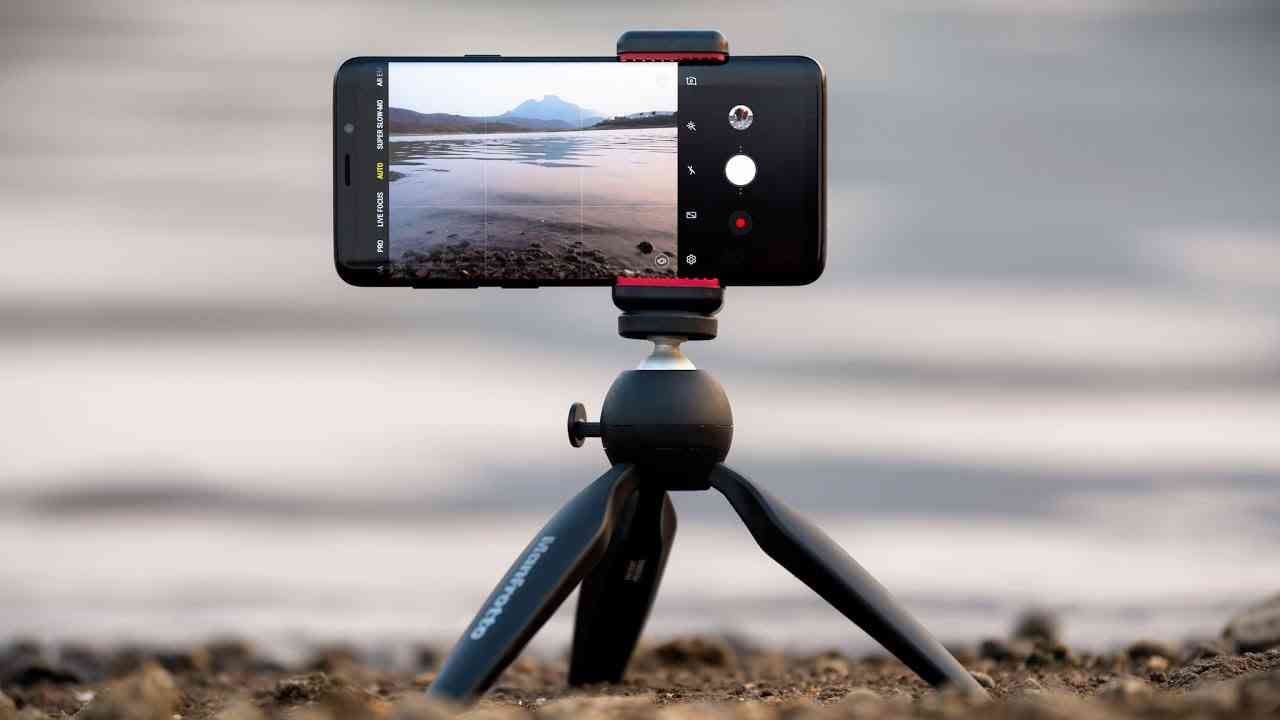
Most people nowadays use smartphones to produce photography or video. As it is, nowadays there is more than one application available for users of Android and iOS-based smartphones which can improve the quality of the clicked photos, from clicking photos in better quality. However, to click photos or record videos, you must be skilled in the field of photography. You should know which camera should be used in the rear or front cameras of the smartphone and what should be done for better results. Here we are sharing information about those skills which will help you in providing the best output of your home-made videos.
- Always use rear camera
The quality of the rear camera is better in smartphones. It clicks photos in better resolutions and it gives more features inside the app. Due to this, its results always come better. You can also use the rear camera for recording yourself. For this, place the phone on a desk or wall. If you want to shoot video by holding the phone in hand, then using the front camera, you can rotate the camera and shoot in landscape mode.
- Create straight videos from the grid
Video taken in crooked angles looks worse than video recorded in portrait mode. In such a situation, the recording will always be straightened by using grid. Most devices have a grid option that you can enable through a setting available inside the camera app. Applying grids helps you to record straight videos as well as a composition by aligning the video opposite a line in the background. If recording people, level their eyes with the top grid line.
- Stability and Focus
It is very important to keep the camera steady and in focus to make a good and smooth video. For this, many phones, cameras, and camcorders have built-in image stabilization (IS) for which the camera in your hand must be stationary. Shooting while moving will move the camera. You can choose one of the best iPhone gimbals to shoot smooth from iPhone on the go. If your phone or camera does not have an in-built IS, then while recording video, hold the device with both hands.
- Lighting
It is easy to brighten in dark or underexposed photos, but such videos cannot be made brighter without degrading the quality and introducing noise. The camera is difficult to focus in low light and filming of the homemade video in poor light in auto mode will reduce the camera frame rate, which will make the video look jerky. In such a situation, follow this general rule that any bright source should light up behind your subject. Use the flashlight of the smartphone as the last option.
- Record in landscape mode
The first step to learning how to create a professional video is to shoot it in landscape mode. However, the vertical or portrait videos will only look good when you watch it on your phone. As soon as you see it on TV, laptop, tablet or any other device, it will not look professional. You can fit well in the frame of landscape mode and thus you will not have to constantly pan to the left and right, which will create a classy finish video.
- Use of new angles
You cannot create professional videos just by holding the camera and start shooting. For this, take shots by changing the angle repeatedly. Instead of shooting everything at the eye level from the same spot, after taking a wide shot, go close to your subject and shoot close-ups. After that edit both shots simultaneously or shoot upwards by holding the camera above the head or leaning down. The purpose of these tricks is not to make every shot look completely different, but if they have a little variety, they will look great.


